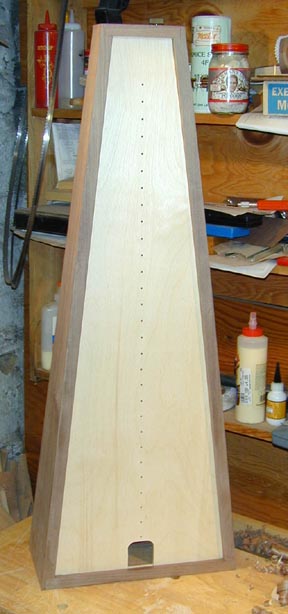

Here's the finished soundbox. At the end of the last session, I left the bottom trim pieces glued and clamped. Here the clamps have been taken off and the pieces trimmed, the major sanding has been done.
Here's the finished soundbox. At the end of the last session, I left the
bottom trim pieces glued and clamped. Here the clamps have been taken off and
the pieces trimmed, the major sanding has been done.
The next parts, the neck and pillar, are made of maple, which is much harder
than walnut and more difficult to work. To compound matters, the maple available
locally these days is not very good. The piece I selected -- the best of a bad
lot -- is 7-1/4 inches wide and badly cupped. To make it flat enough to use,
I'll have to face-joint it on one side, and plane it down on the other. To start
with, I reserve enough of the board to make the pillar, and rip the rest of the
board down the middle, giving two 3-1/2 inch boards. Just doing that takes out
half of the "cup", a form of warping where the edges of the board
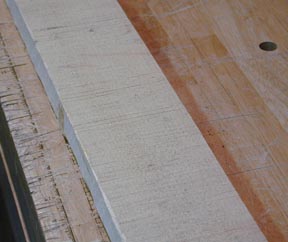
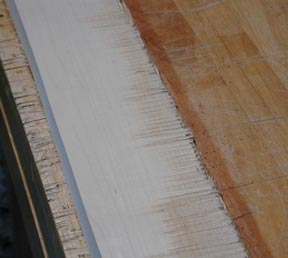
curve in on one side. The board is very rough. In the three pictures below, you
see the rough board, the board after two passes over the jointer, and the flat
face-jointed board -- this took about six passes.
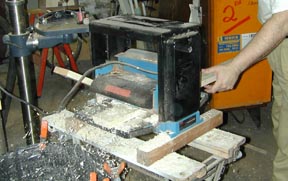
Jointing the board yields a board with one flat face. A power planer (left) will take that board and plane down the opposite face to be parallel to the jointed face. Then the jointer can be used again to smooth the edges perpendicular to the flat faces.
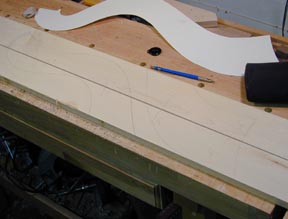
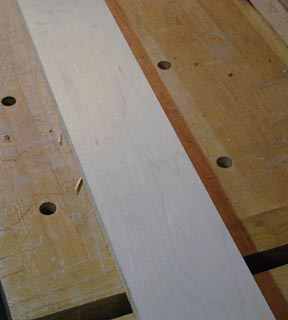
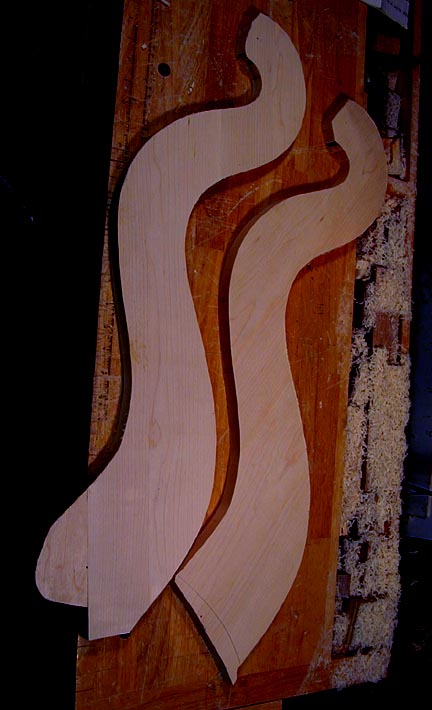
It's a little hard to see the lines on the wood, but here I've laid the two jointed boards side by side and roughly sketched the outline of the neck on them. Because the two boards together aren't wide enough to make the neck, I'll be using the rough outlines to guide me in cutting the boards into short pieces that I'll glue together in configurations that will accomodate the whole outline of the neck. Confused? Stick with it, it will probably become clear.
Because the neck needs to be 1-1/2 inches wide, and the boards are 3/4 inch thick, I need two of these assemblies. This also allows the opportunity of making the grain in the two pieces cross, canceling out any short-grain problems in the curvy form of the neck. That's why the two pieces shown above are configured differently. Each is made up of four pieces of the 3-1/2"-wide board, glued edge-to-edge. A small "ear" will be added to the one on the left to accommodate the little overhanging point of the front end of the neck piece.
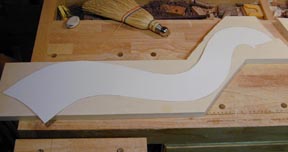
The glued-up pieces are cut out on the band saw, and trimmed down to final shape with a router using a "pattern-following" bit. I've fiddled the contrast and color balance on this picture to bring out the grain so you can see the logic of the cross-grain construction. On the right piece you can see the "short grain" lines running straight across the middle section of the neck. Unsupported, this would be a place where the neck could crack right through along the grain lines. The other piece, however, has the grain running in a different direction. On this piece, the short grain comes at the tight curve near the top of the photo. The grain direction is not quite ninety degrees off, but enough so that the weak section of part a meets a strong section of part b, and vice versa.
 Well,
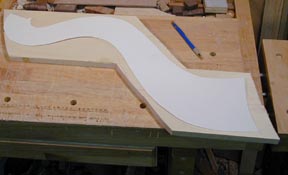
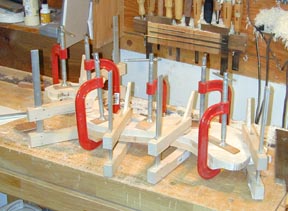
there's the "look at all those clamps" shot. The two halves of the
neck are being glued together here.
Well,
there's the "look at all those clamps" shot. The two halves of the
neck are being glued together here.
That does it for Friday. I hope to complete the neck and pillar on Saturday, apply finish Saturday and Sunday, and add hardware and strings during the week.
Time Today: 6 hours. Total so far: 15.5 hours
Copyright © 2002 Stephen Miklos